

A well-adopted way of protecting APIs is by using the OAuth 2.0 authorisation standard. OAuth 2.0 offers different grant types, also known as flows, to cover multiple authorisation scenarios. As an end-user, you most probably have used, in one way or another, the authorisation code flow, in which you, as a resource owner, grant access to a third-party app to your resources or information. The client credentials flow is a different grant type which allows implementing OAuth 2.0 authorisation between applications.
When exposing APIs on Azure API Management (APIM), it is common to have service-to-service communication scenarios where APIs are consumed by other applications without having a user interacting with the client application. At the time of writing, the official documentation explains how to configure the OAuth 2.0 authorisation code flow to protect APIs on API Management. However, it does not describe in detail how to enable the client credentials flow. In this post, I will cover how to secure API Management using OAuth 2.0 authorisation with the client credentials flow.
Tools of the Trade and Prerequisites
To secure API Management using the OAuth 2.0 client credentials flow, we will need:
- An Azure API Management instance
- Admin access to the Azure AD tenant
Additionally, we will need:
- VS Code with the following extensions:
- Azure API Management extension for VS Code for creating APIs, operations and to edit our policy.
- Rest Client extension for VS Code for sending HTTP requests and to test our configuration.
- JWT Decoder extension for VS Code for inspecting the Azure AD OAuth 2.0 JSON Web Tokens (JWTs). I don’t recommend using public sites to inspect your JWTs, unless you are sure that the decoding only happens on the client side, i.e. never sent to a non-trusted server. A good option is to use jwt.ms, which provides very useful notes on each of the claims in Azure AD JWTs.
Once we have these prerequisites and tools, let’s start with our configuration.
Creating the API and Operation on APIM
The first thing we need to do on APIM is create the API and operation where we are going to implement the OAuth 2.0 authorisation with client credentials flow.
Inside the operation I’ll use a very simple policy, so that I can easily test the OAuth 2.0 authorisation part.
Below is a snippet of the policy I’ll start with. It simply returns a static response, which should be good enough for this exercise.
<inbound>
    <return-response>
        <set-status code="200" />
        <set-header name="content-type" exists-action="override">
            <value>application/json</value>
        </set-header>
        <set-body>{
            "status": "200",
            "message": "OK"
        }</set-body>
    </return-response>
 </inbound>
Once we’ve created the API, we can call it from VS Code with the REST Client extension.
You can find all the documentation of the extension here.
- Create a new file using the
.httpfile extension, e.g.oauthRequests.http. - In your file, add the instructions to send a request to your endpoint, e.g.
GET https://myapim.azure-api.net/oauth/test
Ocp-Apim-Subscription-Key: ••••••••••••••••••••••••••••••••
Ocp-Apim-Trace: true
- You should be able to get the static response we added in the policy. Nothing too exciting yet but bear with me!
{
  "status": "200",
  "message": "OK"
}
Creating App Registrations on the Microsoft Identity platform (Azure AD)
Now we need to create the app registrations that will enable us to implement the OAuth 2.0 authorisation with the client credentials flow. You can follow the instructions on how to create app registrations here.
We need to create two apps registrations, one representing the API Proxy and one representing the API Client. In my case, I’ve named them:
apiproxy-oauth-appapiclient-oauth-app
In both cases, I kept the default settings as we don’t need a redirect URI and the apps only need to be accessed within my organisational directory.
Additionally, for the API Proxy (apiproxy-oauth-app) app registration, we need to set the App ID URI. This is required for the Microsoft Identity Platform v2.0. Through this post, I’ll be exploring both v2.0 and v1.0. While the v2.0 provides more flexibility, at the time of writing, there are some limitations you need to be aware of.
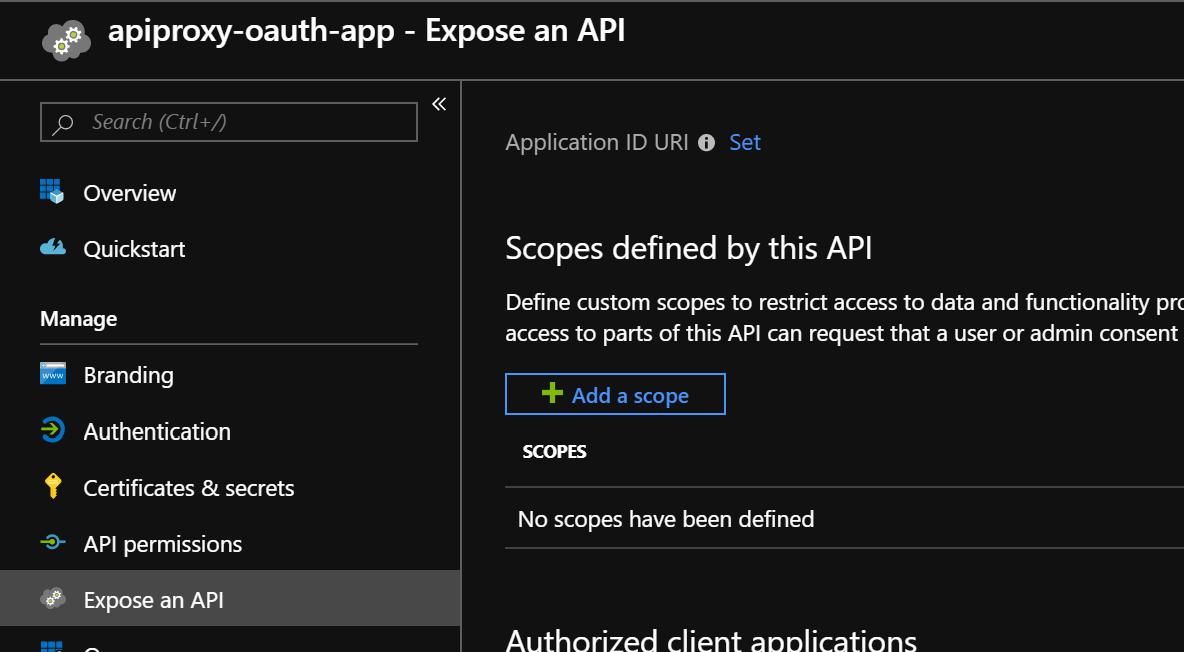
- On the API Proxy app registration, navigate to Expose an API
- Then, click on Application ID URI - Set, and leave the default value, which should be
api://<clientId> - Click on Save
For both applications, take note of the application (Client) ID, as we will need them later. Also, take note of your Azure AD Tenant ID.
Now, we need to create a secret for the app registration representing the API client.
- Navigate to the API client app registration, in my case
apiclient-oauth-app. - Navigate to Certificate & Secrets, and add a secret specifying the expiration date based on your requirements.
- Take a note of the generated secret and keep it safe. Once you close this window, you won’t be able to see it again.
I suggest recording all these details in the oauthRequests.http file we created previously. The REST Client extension allows you to define variables and use them in your HTTP requests. Please make sure this is just a working file and you don’t check in any secrets into your source control or store them in plain text.
Your file should now look like the one below.
@tenandId=de270000-0000-0000-84d2-000000d640bc
@apiProxyClientId = 80c40000-0000-4ef6-0000-0000d66eb2b8
@apiClientClientId = 3000000c-8593-0000-a76b-fbeff8000026
@apiClientSecret = *****************************


### Call the Protected endpoint
GET https://myapim.azure-api.net/oauth/test
Getting the JSON Web Token (JWT) for the API client app
To test that our configuration is correct so far, we can call the Azure AD token endpoint with the corresponding client credentials to see whether we get a valid token.
In the sample requests below I show how the token endpoints and request payloads should look like. I’m testing the token endpoints of both versions, just to make sure that clients working with both versions will be supported in my APIM policy.
### Get the apiClient token using the v2 endpoint. It requires to Set the Application Id URI
POST https://login.microsoftonline.com/{{tenandId}}/oauth2/v2.0/token
Content-Type: application/x-www-form-urlencoded

client_id={{apiClientClientId}}
&client_secret={{apiClientSecret}}
&scope=api://{{apiProxyClientId}}/.default
&grant_type=client_credentials

### Get the apiClient token using the v1 endpoint.
POST https://login.microsoftonline.com/{{tenandId}}/oauth2/token
Content-Type: application/x-www-form-urlencoded

client_id={{apiClientClientId}}
&client_secret={{apiClientSecret}}
&grant_type=client_credentials
&resource={{apiProxyClientId}}
Now your .http file should look like the one below:
@tenandId=de270000-0000-0000-84d2-000000d640bc
@apiProxyClientId = 80c40000-0000-4ef6-0000-0000d66eb2b8
@apiClientClientId = 3000000c-8593-0000-a76b-fbeff8000026
@apiClientSecret = *****************************

### Get the apiClient token using the v2 endpoint. It requires to Set the Application Id URI
POST https://login.microsoftonline.com/{% raw %}{{tenandId}}/oauth2/v2.0/token
Content-Type: application/x-www-form-urlencoded

client_id={{apiClientClientId}}
&client_secret={{apiClientSecret}}
&scope=api://{{apiProxyClientId}}/.default
&grant_type=client_credentials

### Get the apiClient token using the v1 endpoint.
POST https://login.microsoftonline.com/{{tenandId}}/oauth2/token
Content-Type: application/x-www-form-urlencoded

client_id={{apiClientClientId}}
&client_secret={{apiClientSecret}}
&grant_type=client_credentials
&resource={{apiProxyClientId}}

### Call the Protected endpoint
GET https://myapim.azure-api.net/oauth/test
We are now ready to send a request to the token endpoints. If you send a request to the v2.0 endpoint, you should get a JWT similar to the one below:
{
  "token_type": "Bearer",
  "expires_in": 3600,
  "ext_expires_in": 3600,
  "access_token": "eyJ0eXAiOiJKV........."
}
And the v1.0 endpoint should return to you a token like the one as follows:
{
  "token_type": "Bearer",
  "expires_in": "3600",
  "ext_expires_in": "3600",
  "expires_on": "1561347561",
  "not_before": "1561343661",
  "resource": "80c40000-0000-4ef6-0000-0000d66eb2b8",
  "access_token": "eyJ0eXAiOiJKV.........."
}
Now you can copy the content of the access_token, and use the JWT Decoder extension on VS Code to inspect the token.
Your decoded JWT v2.0 should look like the one below:
{
    "aud": "api://80c40000-0000-4ef6-0000-0000d66eb2b8",
    "iss": "https://sts.windows.net/de270000-0000-0000-84d2-000000d640bc/",
    "iat": "[Local:GMT+10]: 24 Jun 2019, 12:37:48 // [UTC]: 24 Jun 2019, 2:37:48",
    "nbf": "[Local:GMT+10]: 24 Jun 2019, 12:37:48 // [UTC]: 24 Jun 2019, 2:37:48",
    "exp": "[Local:GMT+10]: 24 Jun 2019, 13:42:48 // [UTC]: 24 Jun 2019, 3:42:48",
    "aio": "42Zg...gA=",
    "appid": "3000000c-8593-0000-a76b-fbeff8000026",
    "appidacr": "1",
    "idp": "https://sts.windows.net/de270000-0000-0000-84d2-000000d640bc/",
    "oid": "fa3d0000-0000-0000-0000-000016c37e02",
    "sub": "fa3d0000-0000-0000-0000-000016c37e02",
    "tid": "de270000-0000-0000-84d2-000000d640bc",
    "uti": "Ygby...AA",
    "ver": "1.0"
}
And the decoded JWT v1.0 should be similar to the one as follows:
{
    "aud": "80c40000-0000-4ef6-0000-0000d66eb2b8",
    "iss": "https://sts.windows.net/de270000-0000-0000-84d2-000000d640bc/",
    "iat": "[Local:GMT+10]: 24 Jun 2019, 12:34:21 // [UTC]: 24 Jun 2019, 2:34:21",
    "nbf": "[Local:GMT+10]: 24 Jun 2019, 12:34:21 // [UTC]: 24 Jun 2019, 2:34:21",
    "exp": "[Local:GMT+10]: 24 Jun 2019, 13:39:21 // [UTC]: 24 Jun 2019, 3:39:21",
    "aio": "42bg...AA==",
    "appid": "3000000c-8593-0000-a76b-fbeff8000026",
    "appidacr": "1",
    "idp": "https://sts.windows.net/de270000-0000-0000-84d2-000000d640bc/",
    "oid": "fa3d0000-0000-0000-0000-000016c37e02",
    "sub": "fa3d0000-0000-0000-0000-000016c37e02",
    "tid": "de270000-0000-0000-84d2-000000d640bc",
    "uti": "Hrsi...AA",
    "ver": "1.0"
}
As we can see, we have been able to create the app registrations and successfully get a JWT for the client app using the client credentials. So far, so good!
Considerations on using the client credentials flow on APIM
Now that we have created the app registrations and tested that we can get a JWT for the client app successfully, we need to configure our API on API Management to validate the JWT and its claims for checking whether the client is authorised to call the API.
As mentioned above, at the time of writing, the official documentation only explains how to configure the OAuth 2.0 authorisation code flow on APIM. So here are some of the differences when configuring the client credentials flow.
- Granting permissions - While the documentation describes how to grant delegated permissions, these are only applicable when there is a signed-in user, which is not the case in the client credentials flow. So, we need to use application permissions, which are applicable in service-to-service scenarios.
- Enabling user authorisation in the developer console - In the documentation, it is suggested to enable user authorisation to be used in the developer console. In this case, we are only using client credentials, thus it is not applicable.
Validating the Audience Claim in the APIM policy
Now we can start configuring the APIM policy to implement the OAuth 2.0 authorisation by validating the claims in the JWT sent by the client application. In the official documentation (at the time of writing) and different samples I’ve seen, they suggest to validate the audience claim in the APIM policy.
According to the official reference, the audience claim (aud):
Identifies the intended recipient of the token. In id_tokens, the audience is your app's Application ID, assigned to your app in the Azure portal. Your app should validate this value, and reject the token if the value does not match.
This means that the audience claim should only be used to validate that a token was issued targeting your application. This does not imply that there are any permissions granted to the caller. Without testing it, we can even see how the JWTs above returned the aud field with the intended receiver without having given any access to the client application on Azure AD.
Let’s test this out! So far, we have only created the two app registrations without granting any access to the client app. Let’s add the validate-jwt policy to the API operation. In the policy shown below, I’ve done this. I’ve adding two possible values to allow tokens generated by both - the v1.0 and v2.0 token endpoints. When you implement it, you can stick to the version you know you are going to use.
    <inbound>
        <validate-jwt header-name="Authorization" failed-validation-httpcode="401" failed-validation-error-message="Unauthorized. Access token is missing or invalid.">
            <openid-config url="https://login.microsoftonline.com/de270000-0000-0000-84d2-000000d640bc/.well-known/openid-configuration" />
            <required-claims>
                <claim name="aud" match="any">
                    <value>api://80c40000-0000-4ef6-0000-0000d66eb2b8</value>
                    <value>80c40000-0000-4ef6-0000-0000d66eb2b8</value>
                </claim>
            </required-claims>
        </validate-jwt>
        <return-response>
            <set-status code="200" />
            <set-header name="content-type" exists-action="override">
                <value>application/json</value>
            </set-header>
            <set-body>{
                "status": "200",
                "message": "OK"
            }</set-body>
        </return-response>
    </inbound>
In order to test this when calling the endpoint implementing the OAuth authorisation, we need to add the Authorization header with the bearer token that we got from the token endpoint. Now your .http file should look like the one below:
@tenandId=de270000-0000-0000-84d2-000000d640bc
@apiProxyClientId = 80c40000-0000-4ef6-0000-0000d66eb2b8
@apiClientClientId = 3000000c-8593-0000-a76b-fbeff8000026
@apiClientSecret = *****************************

### Get the apiClient token using the v2 endpoint. It requires to Set the Application Id URI
POST https://login.microsoftonline.com/{% raw %}{{tenandId}}/oauth2/v2.0/token
Content-Type: application/x-www-form-urlencoded

client_id={{apiClientClientId}}
&client_secret={{apiClientSecret}}
&scope=api://{{apiProxyClientId}}/.default
&grant_type=client_credentials

### Get the apiClient token using the v1 endpoint.
POST https://login.microsoftonline.com/{{tenandId}}/oauth2/token
Content-Type: application/x-www-form-urlencoded

client_id={{apiClientClientId}}
&client_secret={{apiClientSecret}}
&grant_type=client_credentials
&resource={{apiProxyClientId}}

### Call the Protected endpoint
GET https://myapim.azure-api.net/oauth/test
Authorization: Bearer eyJ0eXAQ....
Now that we have added the audience claim validation to the APIM policy, let’s call the endpoint including the Authorizationheader with the bearer token. We should be getting a 200 response. In this very case, it is not what we want, as we have not given any permissions to the client app to call the proxy app. As we have seen, validating the audience claim is certainly not enough.
Validating the client application ClientId in the APIM policy
As we have tested, validating the audience is not sufficient. One approach we can follow is to validate the appid claim to check whether the caller is authorised to call the endpoint. Let us include that required claim into our policy, in addition to the audience validation. If we want to allow multiple applications to call the endpoint, we just need to add all authorised appids.
    <inbound>
        <validate-jwt header-name="Authorization" failed-validation-httpcode="401" failed-validation-error-message="Unauthorized. Access token is missing or invalid.">
            <openid-config url="https://login.microsoftonline.com/de270000-0000-0000-84d2-000000d640bc/.well-known/openid-configuration" />
            <required-claims>
                <claim name="aud" match="any">
                    <value>api://80c40000-0000-4ef6-0000-0000d66eb2b8</value>
                    <value>80c40000-0000-4ef6-0000-0000d66eb2b8</value>
                </claim>
                <claim name="appid" match="any">
                    <value>3000000c-8593-0000-a76b-fbeff8000026</value>
                    <value>f81a0000-0000-0000-0000-0000c1e95d85</value>
                </claim>
            </required-claims>
        </validate-jwt>
        <return-response>
            <set-status code="200" />
            <set-header name="content-type" exists-action="override">
                <value>application/json</value>
            </set-header>
            <set-body>{
                "status": "200",
                "message": "OK"
            }</set-body>
        </return-response>
    </inbound>
After testing this, we are able to get a 200 response. We will only be authorised to call the endpoint if both claims, aud and appid exist and values match any of the values in the authorised list.
This approach is quite straight forward. The advantage of this is that the OAuth authorisation can be configured directly within the APIM policy and from our release pipeline without requiring an Azure AD admin. However, this is not necessarily desirable in all scenarios, where more strict controls must be in place.
Granting Application Permissions to the client app
Above we have discussed how to implement authorisation at the policy level without requiring granting permissions in Azure Active Directory. In some scenarios, this could meet the requirements. But let’s explore now how to implement role-based access control (RBAC) granted by an Azure AD administrator to restrict access to an API on Azure API Management.
The first thing we need to do is to add application permissions to the API proxy app registration. This is required to implement the OAuth 2.0 client credentials flow using RBAC. For this, we need go to the API Proxy app registration in Azure Active Directory, in my case apiproxy-oauth-app, and edit its Manifest. We will need to add an entry into the appRoles array specifying that the permission is for an application. You can find more details in the documentation. The appRoles array should now look similar to the one below. Make sure you create a new GUID for your app role id.
      "appRoles": [
            {
                  "allowedMemberTypes": [
                        "Application"
                  ],
                  "description": "Allow client apps to send requests to the API.",
                  "displayName": "API Request",
                  "id": "cfef0000-0000-0000-be10-90e97fa573a6",
                  "isEnabled": true,
                  "lang": null,
                  "origin": "Application",
                  "value": "API.Request"
            }
      ]
After editing the application manifest and saving the changes. Now we should be able to grant permissions to the client app by following the steps below.
- Navigate to Azure Active Directory
- Navigate to App Registrations
- Navigate to your client application, e.g.
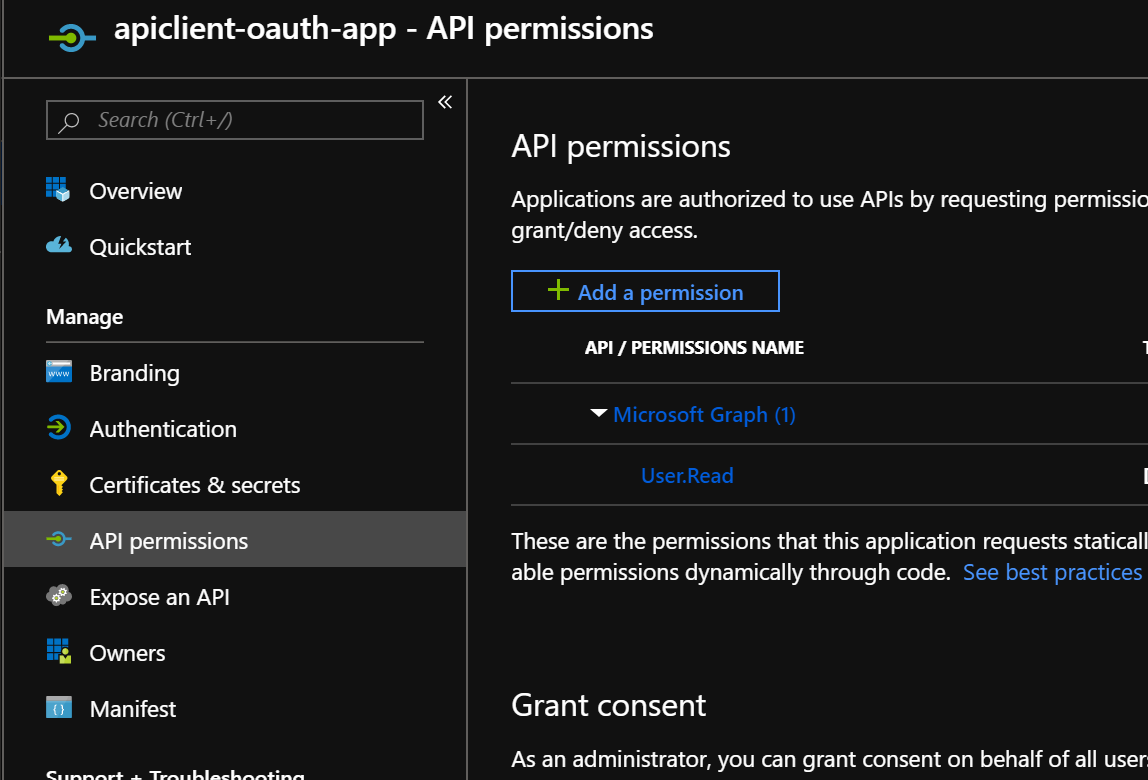
apiclient-oauth-app - Navigate to API Permissions
- Click on Add a Permission
- Search for your API application, e.g.
apiproxy-oauth-app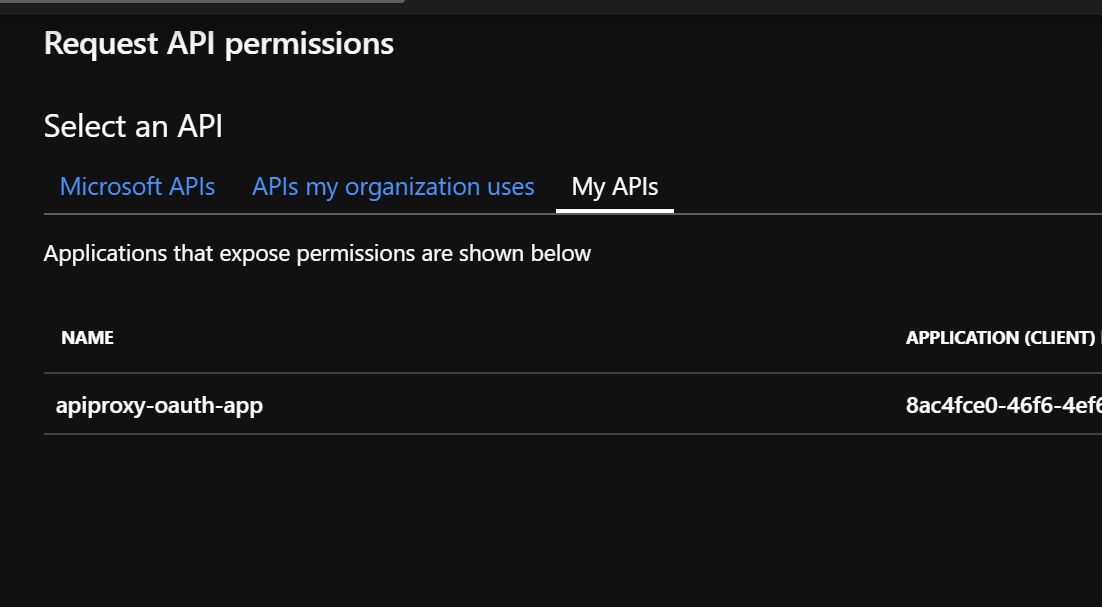
- Click on Application Permissions
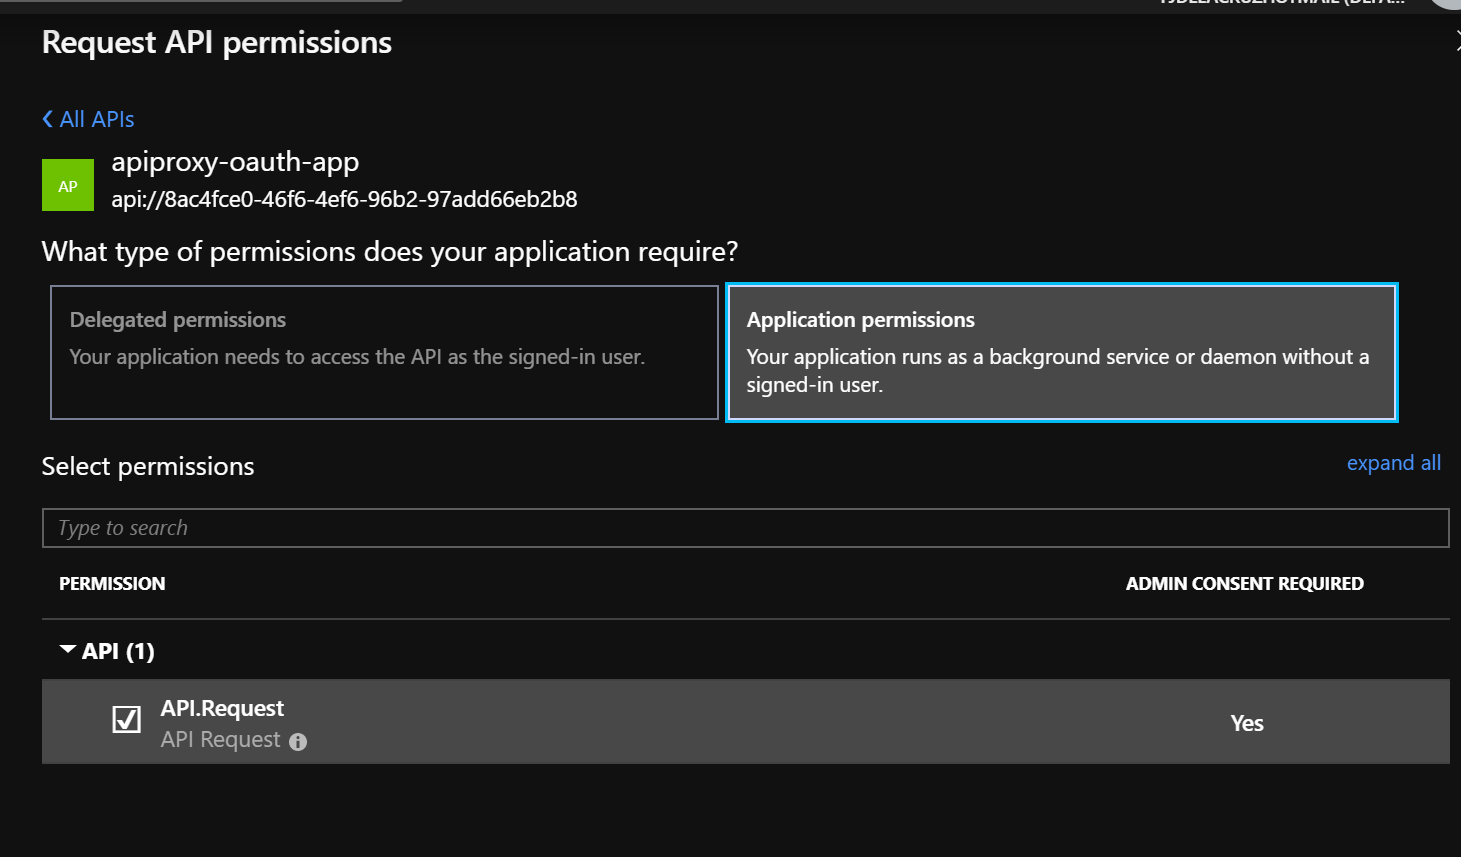
- Select the role you added previously, e.g.
Request - Click on Add permissions
- Make sure the permission you just added is listed
- Click on Grant admin consent. This step requires Azure AD admin privileges.
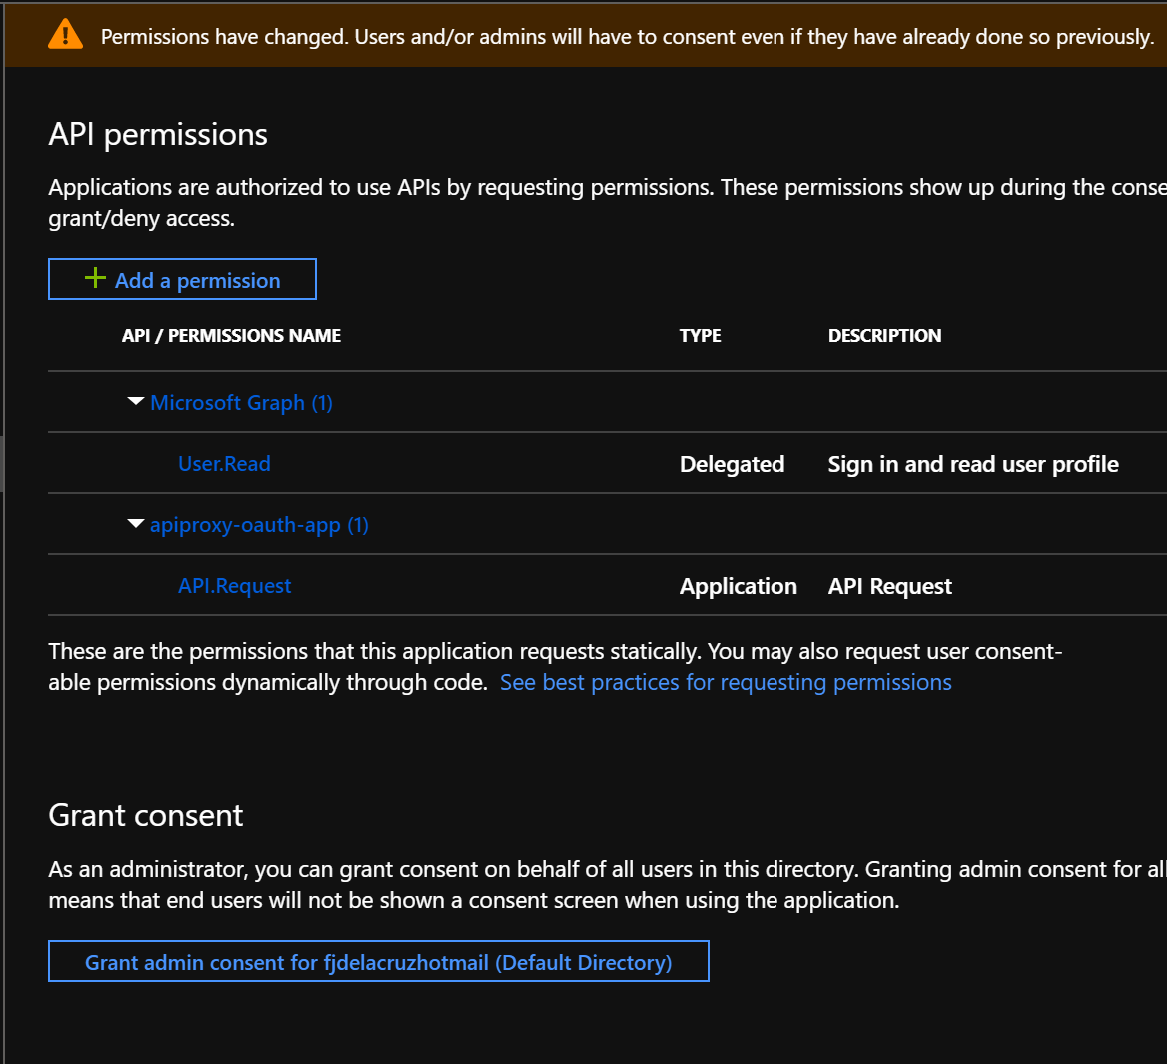
- Click on Yes
- Make sure the permission has now granted admin consent.
Validating the Application Permissions (Roles) claim in the APIM policy
Once we have granted role-based access to the client application to call the API, we can validate the roles claim in the APIM policy. By validating the audience, we are making sure that the token targets our API, and by validating the roles, we are making sure the caller has the correct role-based access to the API.
The APIM policy for validating the roles claim is shown below. While creating your policy, consider that the validation is case sensitive.
    <inbound>
        <validate-jwt header-name="Authorization" failed-validation-httpcode="401" failed-validation-error-message="Unauthorized. Access token is missing or invalid.">
            <openid-config url="https://login.microsoftonline.com/de270000-0000-0000-84d2-000000d640bc/.well-known/openid-configuration" />
            <required-claims>
                <claim name="aud" match="any">
                    <value>api://80c40000-0000-4ef6-0000-0000d66eb2b8</value>
                    <value>80c40000-0000-4ef6-0000-0000d66eb2b8</value>
                </claim>
                <claim name="roles" match="any">
                    <value>API.Request</value>
                </claim>
            </required-claims>
        </validate-jwt>
        <return-response>
            <set-status code="200" />
            <set-header name="content-type" exists-action="override">
                <value>application/json</value>
            </set-header>
            <set-body>{
                "status": "200",
                "message": "OK"
            }</set-body>
        </return-response>
    </inbound>
For scenarios where role-based access control to APIs is managed by an Azure AD administrator, this is the approach you want to follow.
Wrapping up
In this post, we have discussed how to implement authorisation on Azure API Management using the OAuth 2.0 client credentials flow, which is designed for service-to-service scenarios. We have discussed why validating the audience only is not a proper authorisation implementation, and explored two options to implement the authorisation. One option that is fully controlled in the APIM policy only, and another that requires consent form an Azure AD administrator. You can implement the one that makes more sense to you according to your requirements.
I hope you have found this post useful. Please feel free to post your comments or questions below!
Happy clouding!
Cross-posted on Paco’s Blog
Follow Paco on @pacodelacruz